Open topic with navigation

2.1 Installation of SCIA Engineer
- You can start the installation using the web setup from our site:
Go to our download page:
https://www.scia.net/en/support/downloads/
And run the web setup.
- In the dialog box which appears, select the language for installation:
The language chosen for installation is also the default language that will be used for the help files of SCIA Engineer.
- The Welcome screen for installation appears. Press [Next] to continue.
- In the dialog product improvement program the customer can choose if he wants to share anonymous runtime usage data. No personal data is collected. You can find more info on https://www.scia.net/en/support/faq/installation/scia-engineer-product-improvement-programm
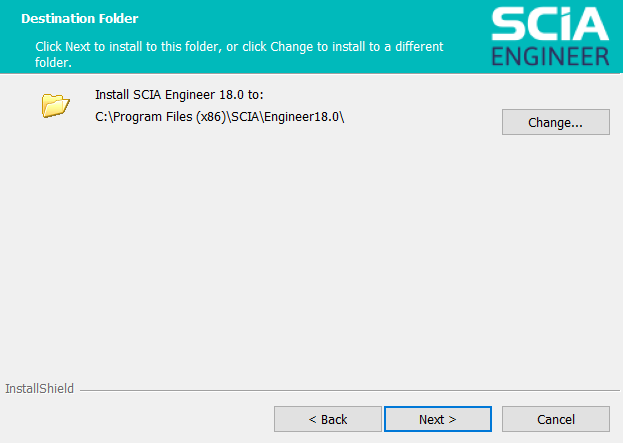
- In the dialog Choose Destination Location, the folder where the files will be installed can be specified. By default the destination folder is created in Program Files. It is advised to use this default location.
Press [Next] to continue.
- In the dialog Setup Type the preferred setup can be chosen. Press [Next] continue. We advise to choose Custom so that you can check the add-ons that will or won’t be installed by default. Make sure that ALL required add-ons are selected to be installed. If you are not sure about a certain component, it is better to install it anyway.
If you want to install one of the SCIA Engineer Plug-ins, then you need to select the plug-in in the Custom installation.
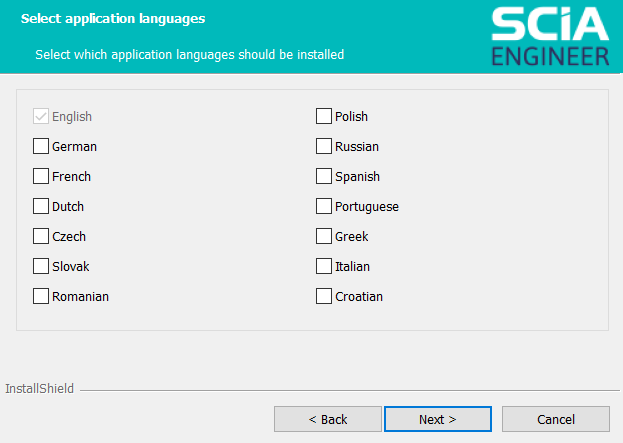
- Select the application languages that should be installed (additional languages can only be used if you have the language module for it in your licence)
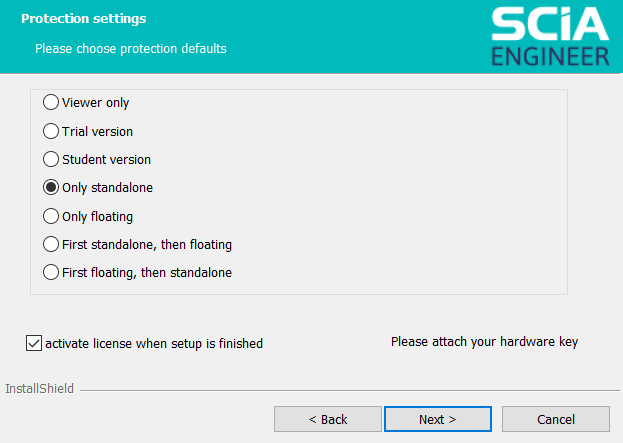
- In the dialog Protection Defaults the default values for the protection settings can be set.
- Select Only standalone.
- Activate the option activate license when setup is finished. With this option the license file will be updated automatically if the dongle is attached to the computer.
- If you don’t have your dongle attached to the computer, just install the program and deactivate the option activate license when setup is finished.
Press [Next] to continue.
When using a dongle and a FlexNET network license, the options “First standalone, then floating”, or “First floating, then standalone” can be chosen.
9. The next window, allows the user to select the required desktop icons.
10. The last window shows an overview of the selected settings. Press [Install] to start the installation process.
11. After installation, the message appears that SCIA Engineer has been installed successfully. Press [Finish] to end the installation procedure.
Open topic with navigation