Defining a new averaging strip
Procedure to define a new averaging strip
-
Define the project and perform the calculation. The completion of the calculation is necessary to get access to service Results that contains the function for the definition of the averaging strips. See also note below.
-
Open service Results.
-
Open branch 2D members.
-
Start (double-click) function Averagingstrip.
-
Fill in the parameters in the input dialogue – see below.
-
Input the strip in the graphical window.
-
End the function.
Note: Alternatively, the same function can be accessed from service Concrete Advanced. The procedure described above is useful when you want to review averaged internal forces. The alternative is suitable for the design of required reinforcement areas with the averaging taken into account. This function is accessible even prior to the completion of calculation. On the other hand, it is available only to users who purchase the module for the design of concrete structures and on condition that the material concrete has been defined in the project.
Averaging strip parameters
Practical demonstration
The following example demonstrates the meaning and effect of parameter Direction.
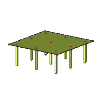
Let us have a simple plate supported by nine columns placed symmetrically in both directions and review moment mx calculated without averaging strips and with different variants of the strips.
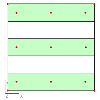
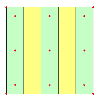
First, let us define horizontal averaging strips placed just over the supports (the support means the head of the column).
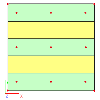
Second, let us define horizontal averaging strips placed both above the supports and between them.
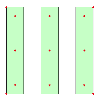
Third, let us define vertical averaging strips just over the supports.
Fourth, let us define vertical averaging strips placed both above the supports and between them.
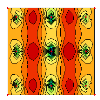
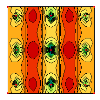
Let us subject the plate to the self-weight and to a uniformly distributed load placed over the whole plate. The result diagram for mx (horizontal direction) without any averaging looks like this.
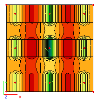
Now, let us adjust longitudinal direction for the averaging. It means that the results will be averaged along the length of the strip and will be more or loss constant across the strip.
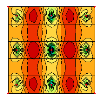
The result for the horizontal averaging strips defined only above the supports will be like this.
The result for the horizontal averaging strips defined above both the supports and between them will be like this.
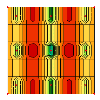
The following picture shows that vertically oriented strips has almost no impact on the distribution of moment mx.
Now, let us try to change the direction of averaging to Perpendicular. The following picture represents the results for the horizontal averaging strips defined above both the supports and between them. You can see almost no difference in comparison with the unaveraged results.
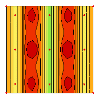
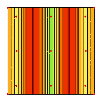
On the other hand, the vertical averaging strips placed over the supports give the following result for moment mx.
The vertical averaging strips placed both over the supports and between them give the following result.
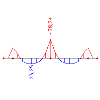
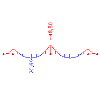
The averaging affects also the results drawn in the section (i.e. not using the isolines / isobands). Let us define a section in the middle of the plate parallel to the x-axis. Let us adjust the longitudinal direction for the averaging strips and look at the results for the horizontal averaging strips placed above the supports.
The first picture shows the result without averaging.
The second picture the result with the averaging.

