Examples of procedure
Define a new mapping table
- Launch the tool from Start > Programs > SCIA Engineer 18.0 > Mapping Database Editor.
- Run File > New.
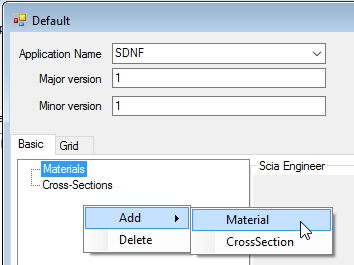
- Define Application Name – e.g. SDNF. You can also fill in the other information about the file.
- Add a material by means of
– menu Data > Add > Material
– or a right mouse button click in the window in the left side of the dialogue. Then click on Add > Material.
- Define Id (e.g. as 1), Material in SCIA Engineer (e.g. as S 450) and Material in SDNF (e.g. as S237).

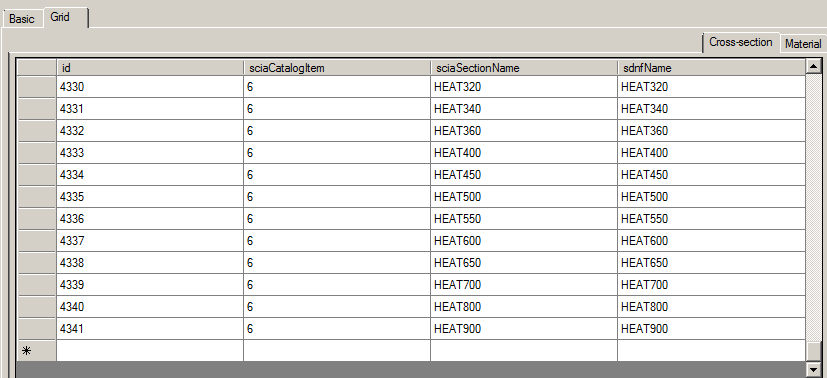
- Switch from Basic to Grid tab with Material subtab. You can see the first defined material.
- Click into the second line and again define Id (e.g. as 2), sciaName material (e.g. as S 335) and sdnfName material (e.g. as S275).

That means materials S237 and S275 from SDNF will be substitute in SCIA Engineer with S 450 and S 335.
- Save it with File > Save as and define a name of the table. You can try to import a simple structure from SDNF with materialsS237 and S275 and check up if it is correctly imported to SCIA Engineer.
Edit an existing mapping table
- Launch the tool from Start > Programs > SCIA Engineer 18.0 > Mapping Database Editor.
- Run File > Open and select e.g. SdnfCss.xml in Addons directory.
- Set Filter by sciaSectionName and input a key – HEA.

- Select one of profiles in the left side window – e.g. id 1721 and remove it with a right mouse button click – Delete.
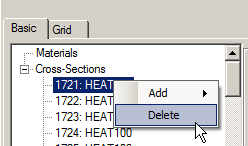
Or in the Grid tab using Delete key on your keyboard.
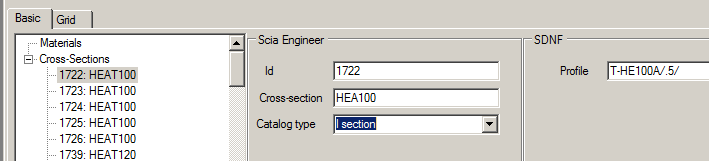
- Select next one in either Basic or Grid tab and change the profile name in SCIA Engineer column e.g. from HEAT100 to HEA100 and Catalogue type from T section to I section in the Basic tab or from 6 to 1 in the Grid tab. It means the T profile T-HE100A/.5/ from SDNF file will be imported to SCIA Engineer as I profile HEA100.

- Add new one by means of
- right mouse button click Add > CrossSection
- or menu Data > Add > CrossSection

- or start to write in the last line in the Grid tab.

- After all changes save it using File > Save or Save as.