Export
All preprocessor data such as material, cross-sections, geometry, model, load, etc. and also all postprocessor data such as calculation results, etc. can be exported into XML format.
If I want to perform the XML export, first of all I have to exploit interactive tools to create the output format. I must specify which data groups, which particular values and in what order will be needed in the output file. I can create an arbitrary number of such formats for the given project and I can store them as templates into files on a disk and also transfer them into other projects.
Only when I have prepared the output format, the recording into the selected XML file can be performed.
The procedure is as follows.
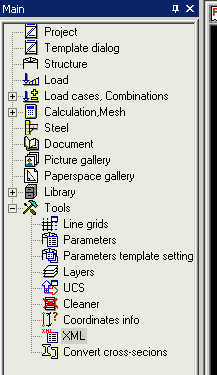
Select item Tools / XML in the tree menu.
If no output format has yet been defined in the project, program offers the option to load it from a file on the disk. A template in file Default.tdx is distributed with the installation of SCIA Engineer. Selection of this file can save a lot of effort needed for production of standard outputs, that consists of basic input data of a structure.
Of course, if I already prepared a template, I can use it. I may also decide not to accept any template and to produce the output format myself from the scratch.
The definition of output format can be performed in the XML dialogue.
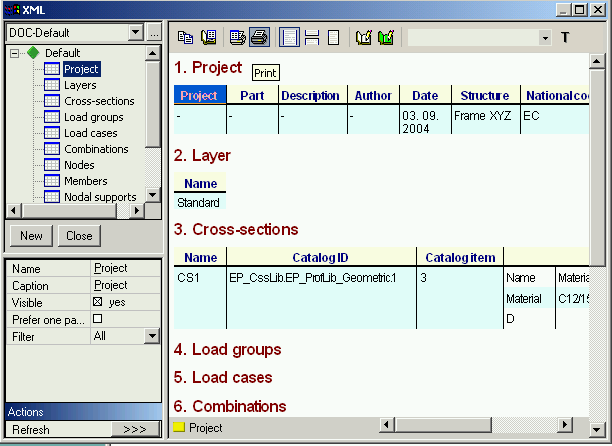
The combo box in the top left corner enables you to select individual formats. The “three-dot” button opens a dialogue for processing of individual formats (creation of a new one, removal of existing one, copying, etc.)
Another control in this dialogue is the tree showing the order of data groups or tables. The tree is editable. One can select tables, delete or move them, etc. Button [New] located below the tree adds a new table.
The other button [Close] closes the whole XML dialogue.
Below the New and Close buttons, there is the property dialogue. Table properties such as name, visibility, etc. can be edited here.
Also Filter is a very interesting feature. It can reduce the number of displayed lines in the table.
The right-hand side of the dialogue contains a field where tables are shown with all the information that is later stored into the XML file.
Example: Part of XLM file
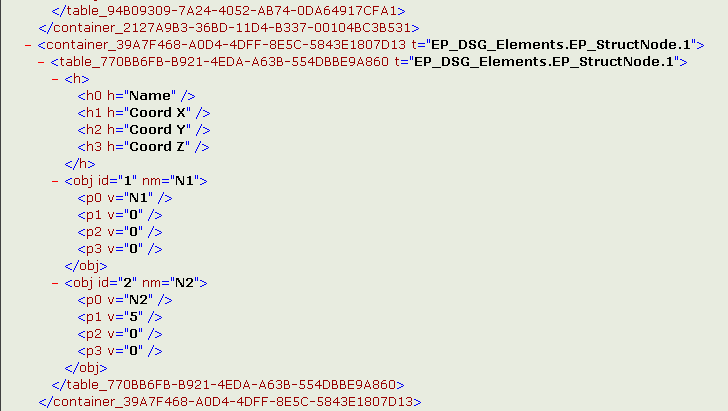
As stated above, it is possible to say which particular values and in what order will be present in the output.
Adding a new table
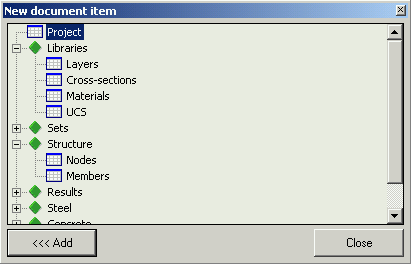
In order to insert a new table, press button [New]. It opens New document item dialogue.
In order to add the required item, just select it and confirm with button [<<<Add]. The item / items are added at the end of the list. Alternatively, mouse’s Drag and Drop feature can be used to add the required item to the list in the XML dialogue.
Procedure to edit the table
Place the mouse cursor over the table header and click the right button.
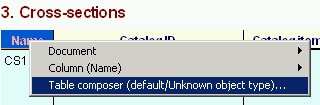
In the displayed pop-up menu select item Table composer.
Table composer dialogue is opened. It contains two trees. The top tree contains all the table properties that can be user for output.
The bottom tree then shows the properties that will be displayed in the table. This tree can be edited (delete, move, add). A new item can be added from the top tree using Drag and Drop feature.
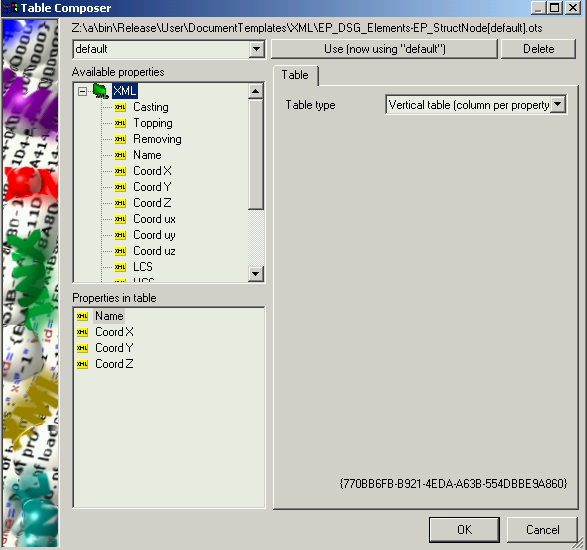
Once the dialogue is closed the edited table is changed immediately.
ATTENTION: It is possible that some properties have no meaning for the current state of he project and therefore, they are not displayed in the table.
When the output format contains all the data we need, we can proceed to the very creation of XML file.
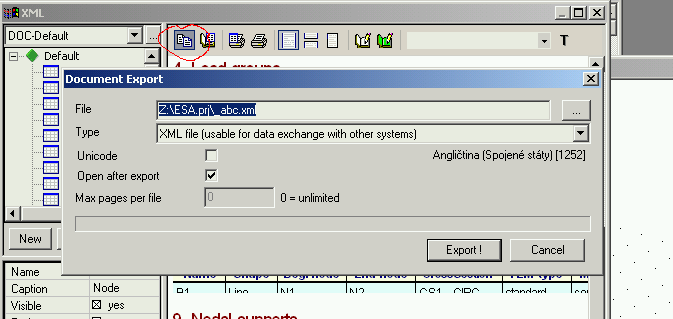
Use icon Export on the toolbar – circled red in the picture below.
A dialogue is opened where you can input the file name, output coding of the text file (unicode) and you can say that the file should be opened once generated.