Bimplus
Bimplus is platform for real-time collaboration between project team members provided by Allplan. Its integration within SCIA Engineer allows you to store your models in SAF format on this platform, so you can open/upload files directly from/to it.
![]()
For more info about Bimplus solution visit:
Availability of the described features is indicated in this table:

Export to Bimplus
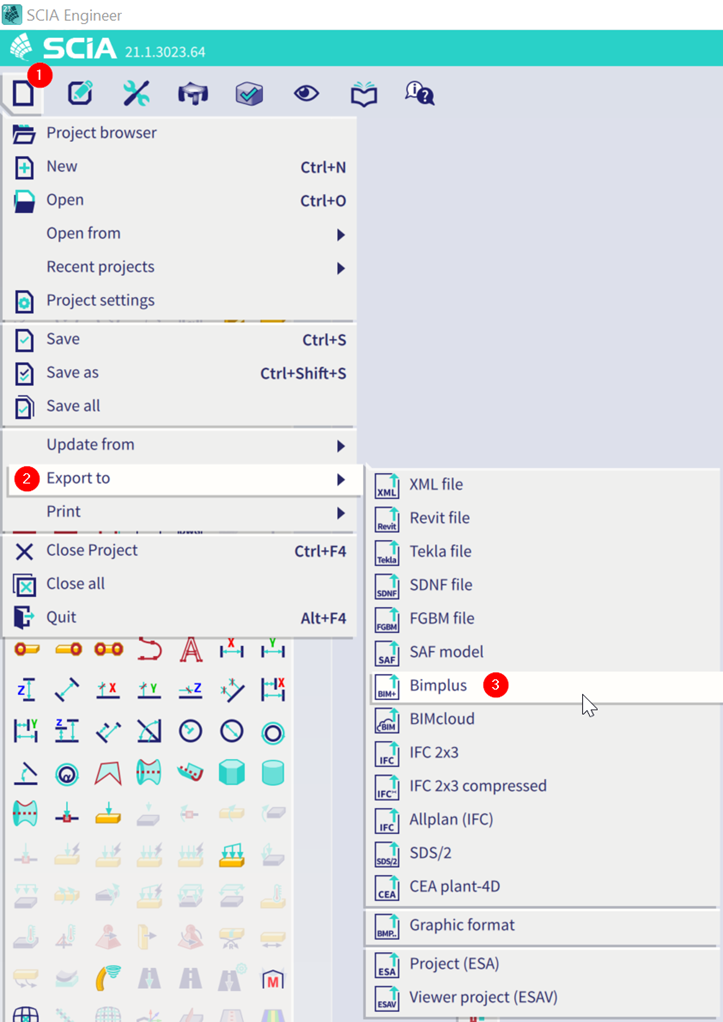
Click on File tab in main bar, select Export to option and choose Bimplus.
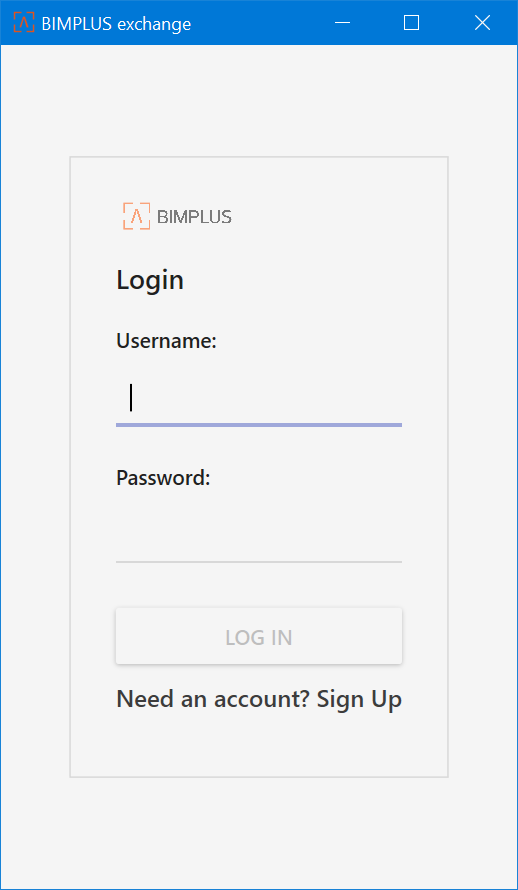
Log in to your Bimplus account via popped-up dialog.
Then there are two possible scenarios:
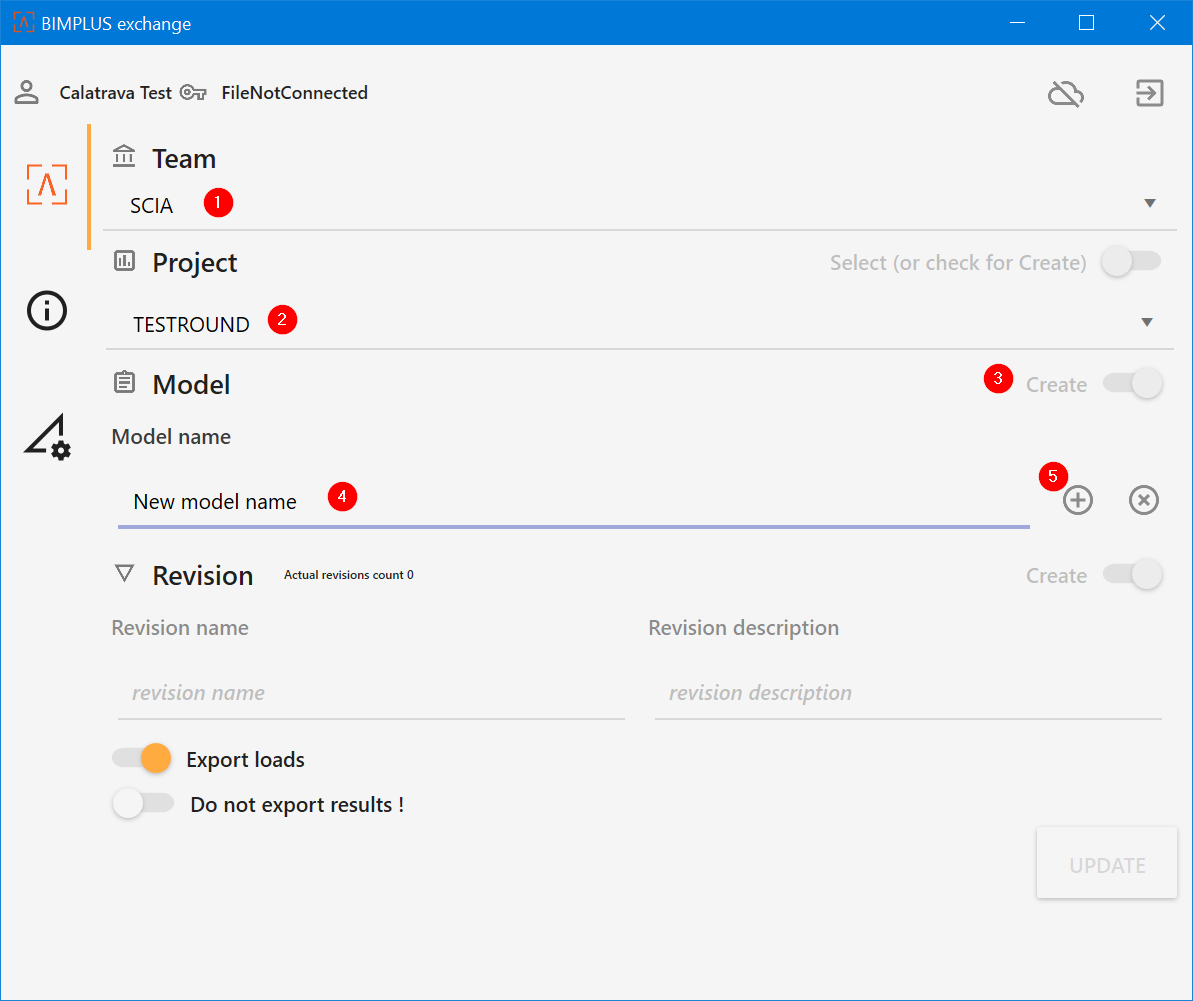
- You want to upload completely new file
- You want to update some of the existing files with this new one (create a revision for the existing file)
In this case you just select the team, the project and at the row with Model activate toggle Create. Then input the name of the model and click on plus button to confirm it. If you want to upload your model into completely new project, you can create one also here in this dialog. You just activate the similar toggle as for creating new model.
For this case you select the team, the project and also the model. Then fill in name of your revision and confirm it by Update.
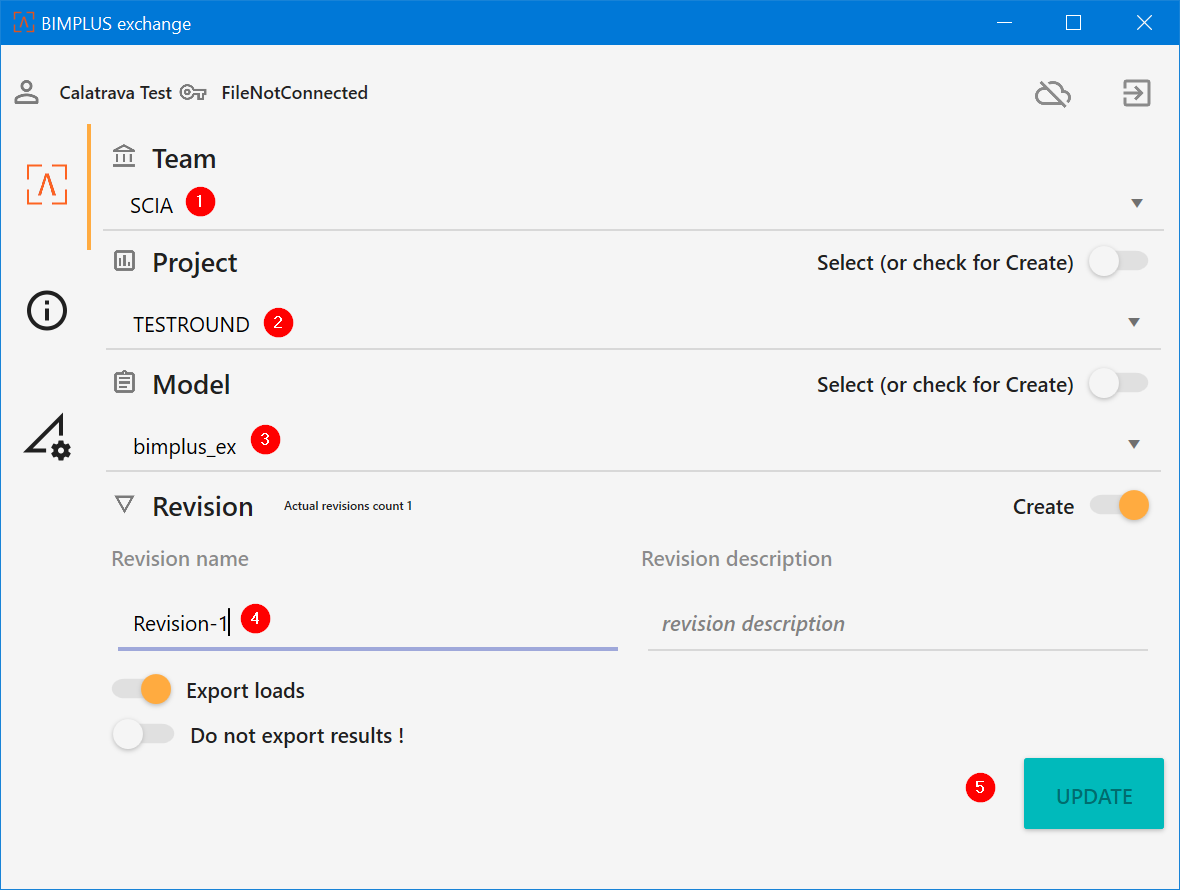
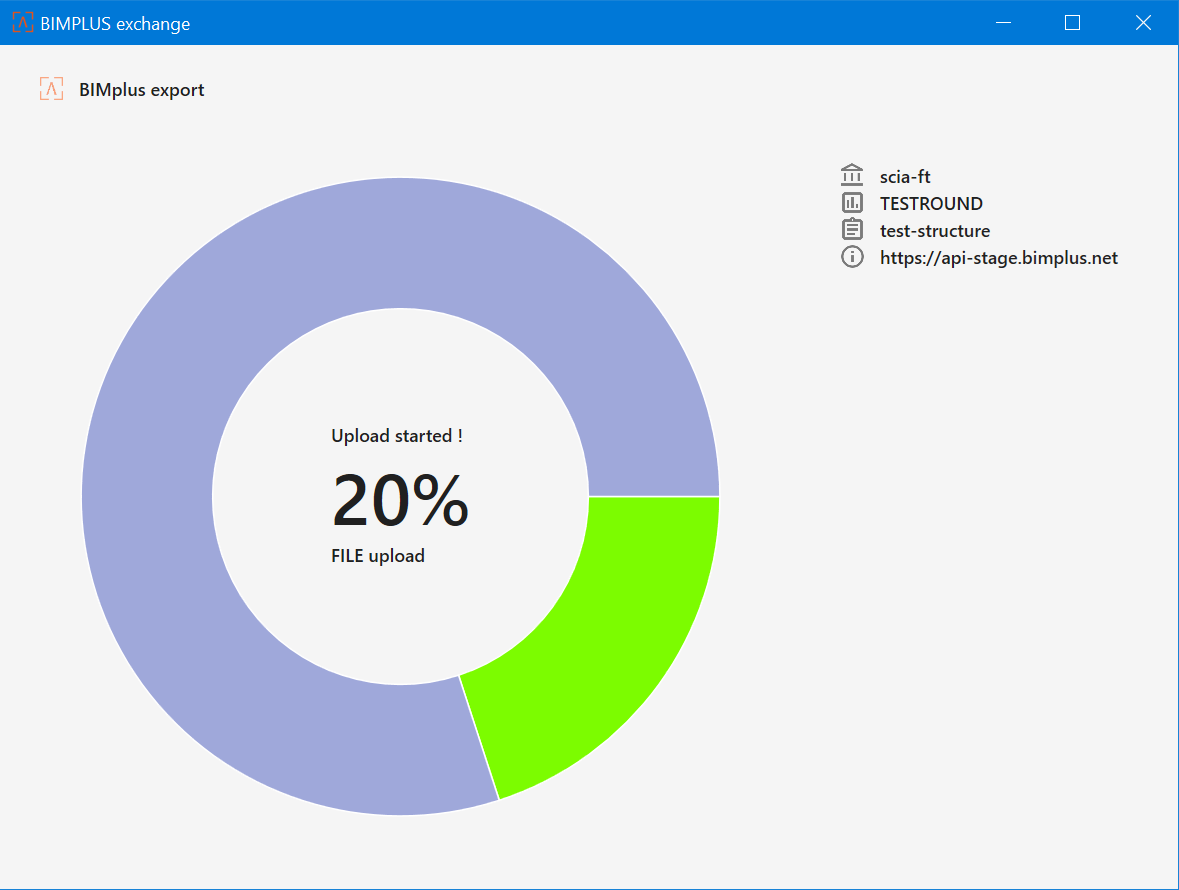
In both cases you can choose, if you want to export the loads and the results by toggles at the bottom of the window. After you confirm the upload of the model, you will see the chart with progress of uploading and then confirmation message dialog. In the first phase model is uploaded to the Bimplus. In the second phase Bimplus has to proceed it, so you will have to wait a while for it. You should be notified via email, when it's fully ready for use.
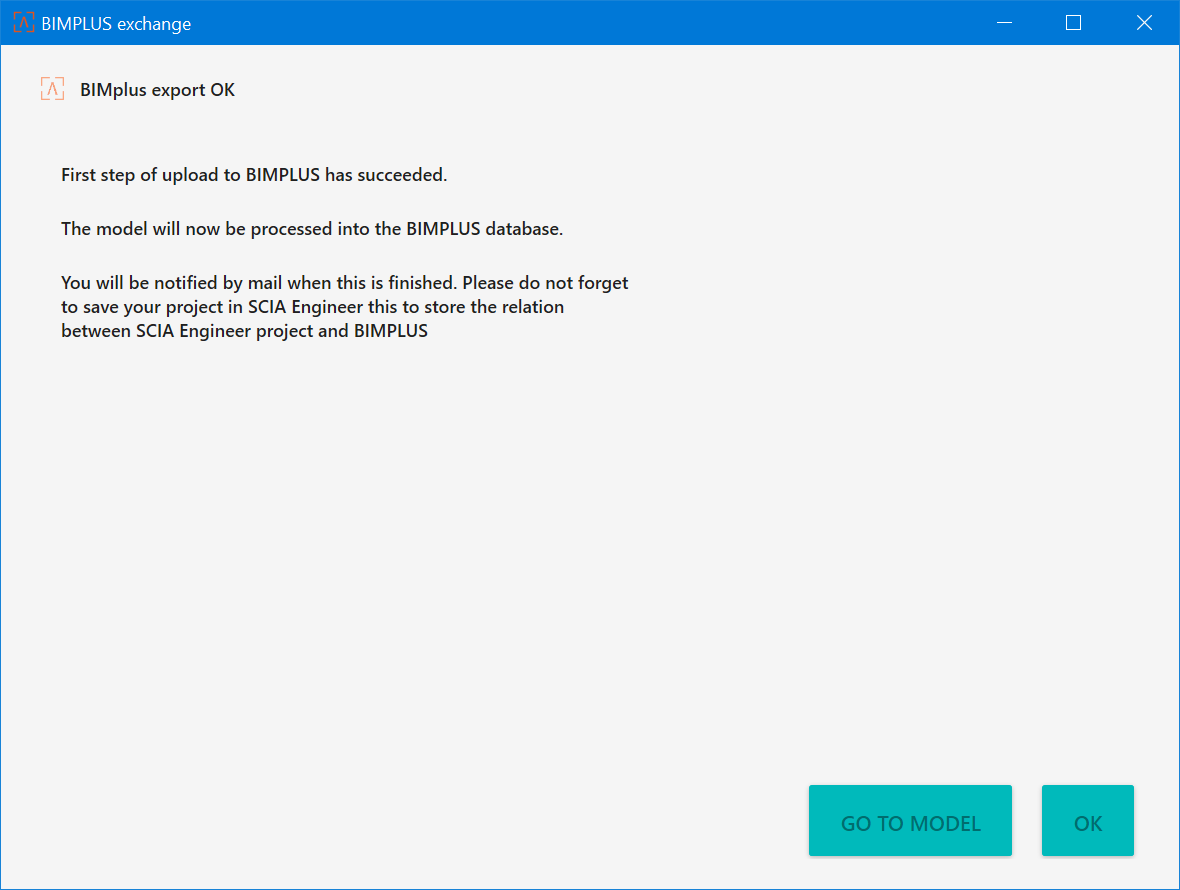
Then you can close this dialog by OK or you can check your model on Bimplus portal by click on Go to model.
Import from Bimplus
For import model directly from Bimplus click on the File, choose Open from and then select Bimplus.

Log in to your Bimplus account via popped-up dialog.
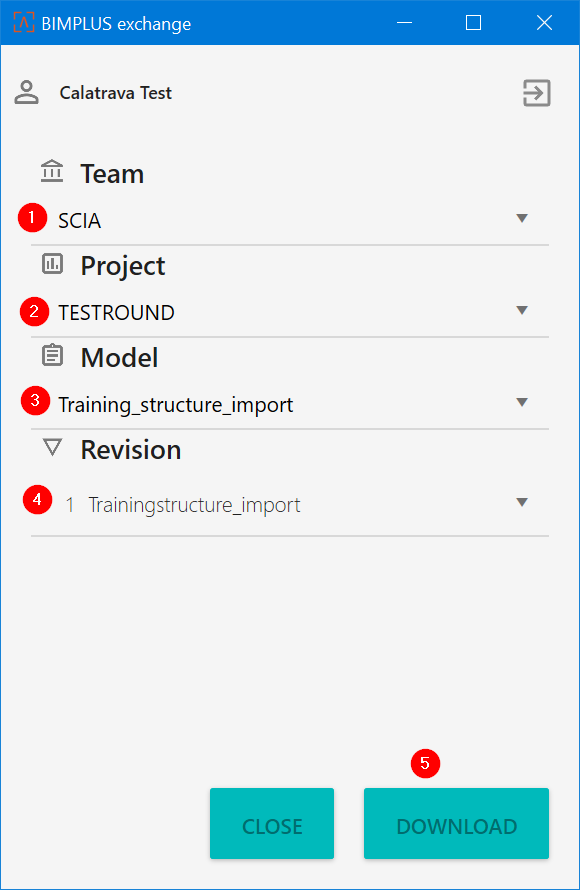
Then you select the team, the project, the model and also its revision you want to open. Confirm this step by Download.
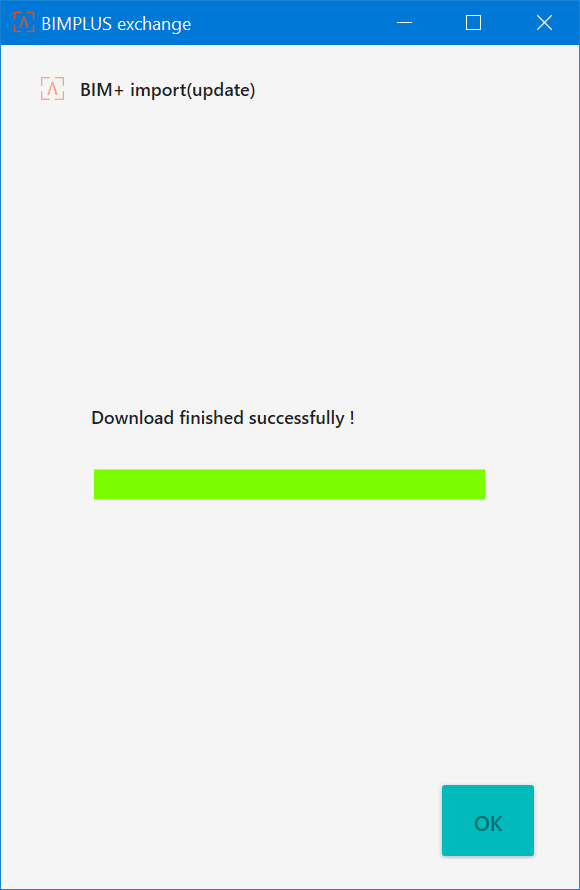
Your model will import and you will get confirmation message about it. By OK you proceed to the next step.
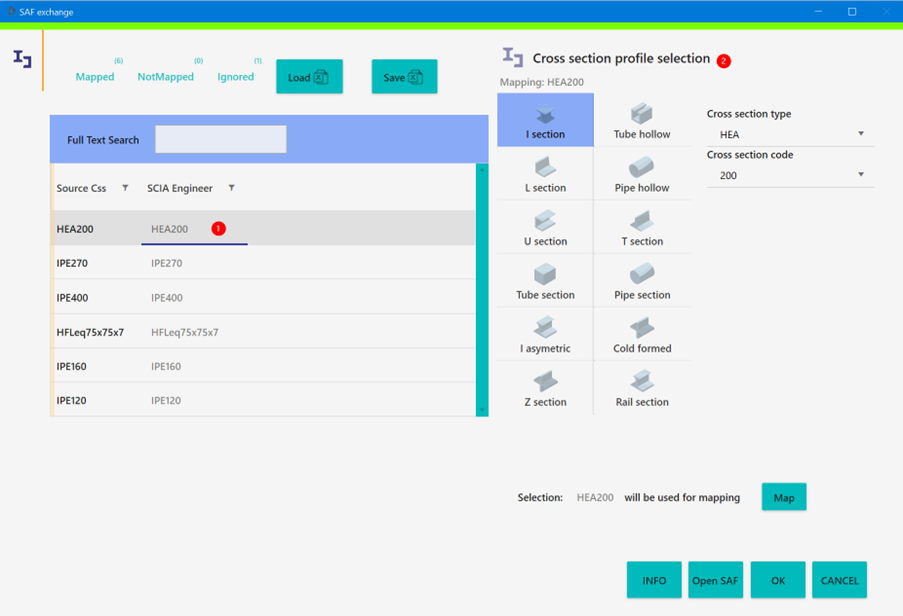
Now mapping dialog will be shown to you. Here you will see list of cross-sections. System will try to map them automatically to SCIA library. If auto-map can’t find it or you want to change the mapping, just select the row with cross-section and map it by yourself in the right side of the window.
By OK you finish the import process and get back to SCIA Engineer.
Update from Bimplus
With Bimplus you can also use feature Update from. It allows you to update the model in SCIA Engineer with analysis model saved on Bimplus (in SAF format). Update process means, that it compares the objects in SCIA Engineer and in the model from Bimplus and proceed these rules:
- Objects that are in SCIA Engineer and not in model from Bimplus are deleted.
- Objects that are not in SCIA Engineer and are in model from Bimplus are imported and added to current model.
- Objects that are in SCIA Engineer and are in model from Bimplus too, they stay (if some changes in properties are recognized, they are applied - e.g. different cross-section, materials, etc.).
- Objects that are part of SCIA Engineer project and can't be part of SAF model saved on Bimplus, stay without any changes (e.g. settings of project).
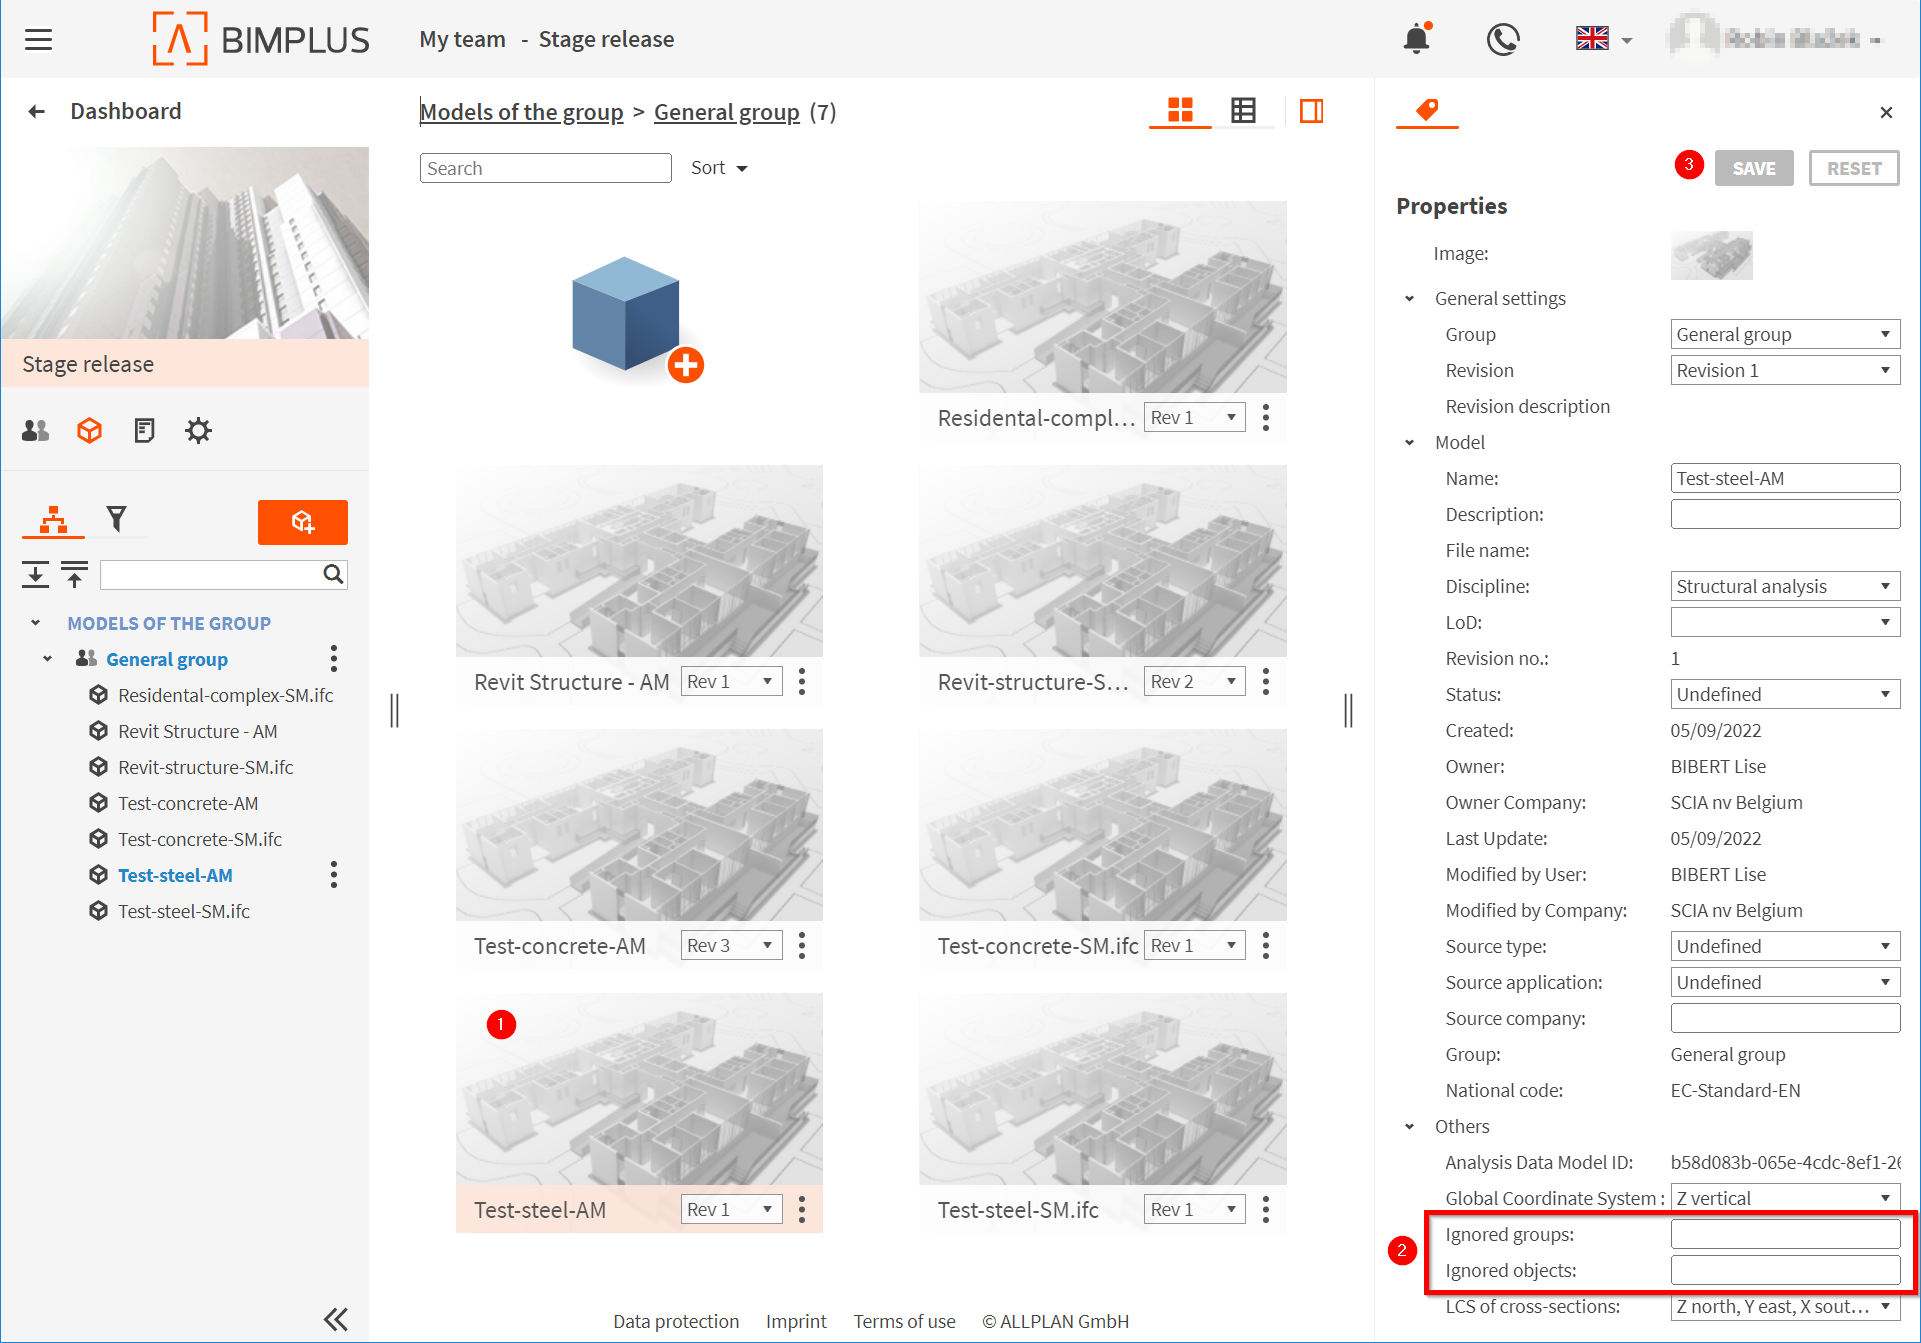
If you want to remove some types of objects from comparison, so they won't be compared at all and they will always stay in the model in SCIA Engineer, then you can use Ignored objects or Ignored groups.
These properties allow you to set in SAF file, that you want to ignore some objects or groups during comparison as a part of Update from procedure. All you have to do is fill cells Ignored objects or Ignored groups (or both) in the Model list of the SAF file before you start updating the model. You can do this via your Bimplus portal. Just open your project, select your model, fill the properties and save it. If you want to specify more than one item in these cells, then use semicolon as a separator.
List of the objects and groups can be found here:
Once you have your model ready, then use following steps to proceed with updating model in SCIA Engineer.
Click on File tab in main bar, select Update from option and choose Bimplus.

Log in to your Bimplus account via popped-up dialog.
Then you select the team, the project, the model and also its revision you want to open. Confirm this step by Download. (Note: If you have already your model connected to Bimplus, then team, project and also model will be chosen and you can choose only revision)
After download, mapping table will be shown to you. Here you will see list of cross-sections. System will try to map them automatically to SCIA library. If auto-map can’t find it or you want to change the mapping, just select the row with cross-section and map it by yourself in the right side of the window.
You confirm this step by OK button and the model will be updated. At the end of the process info dialog will pop-up, where you can see, which objects were created, updated or deleted.
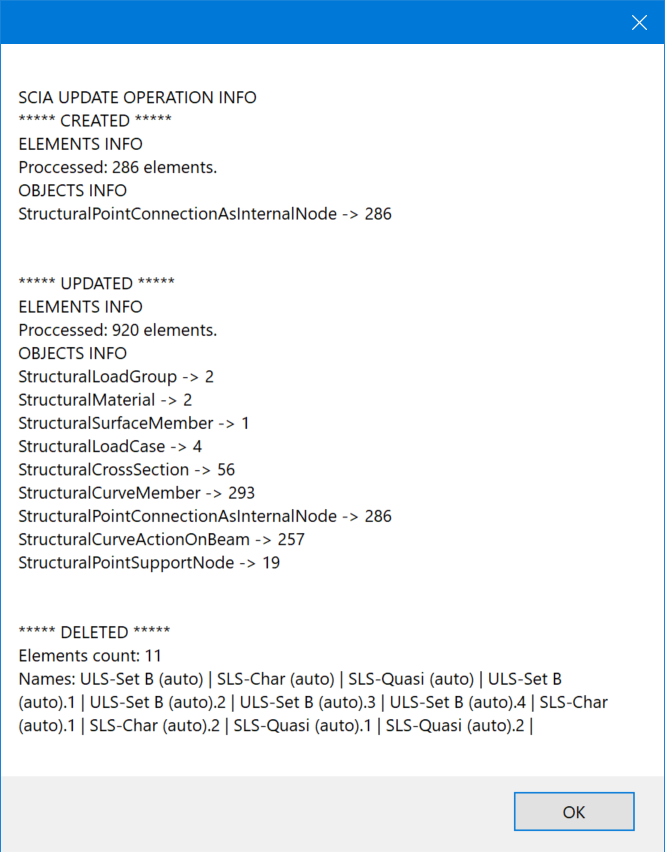
Confirm it by OK and your model should be updated and ready in 3D scene of SCIA Engineer.