Revit link buttons in the ribbon, Export and Import, Mapping dialogues during Export
The Revit link options
The Revit link is installed to Revit ribbon named CADS. There are four main parts. Quick buttons for Export and Import, Mapping tables, Options part and Help part.

What can be exported
Not all elements in Revit are supported for export. It is mainly structure elements and some kinds of loads. Only analytical model is exported, no architectural elements are supported.
Supported elements are (find more in Revit link help):
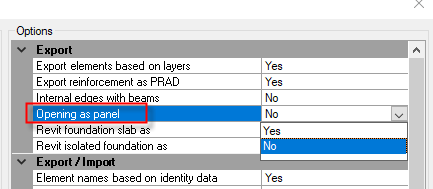
Holes in slab or wall can be exported as a pure opening in 2D member or as panel opening in 2D members. It is possible to set in the options:
Export and Import buttons
Export - means export from Revit to SCIA Engineer
Import - means import from SCIA Engineer to Revit
These buttons start export or import immediately. There are no settings. The dialogue with exported elements appears.
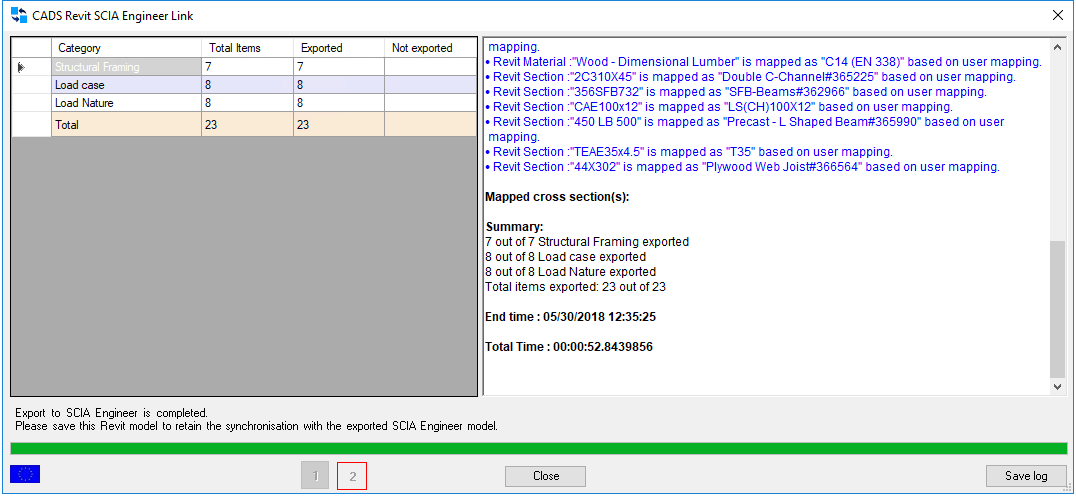
There is a part where all elements display their status. The log part is displayed in the text-box under it.
The log file can be saved after the export is done. Use the button on the window bottom.
The two steps on the bottom show the status of exporting process.
1 - means loading elements
2 - saving R2S or opening SCIA Engineer

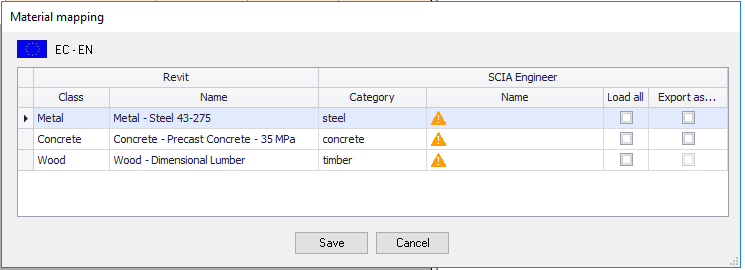
The dialogue for material and cross section definition
When some material or cross section is not recognized according to the mapping rules, user has to define it manually during export/import. The special dialogue appears and user has to select the proper material or cross section in it.
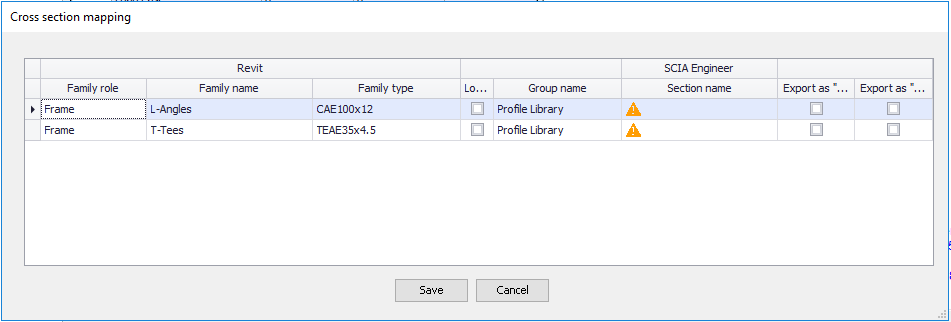
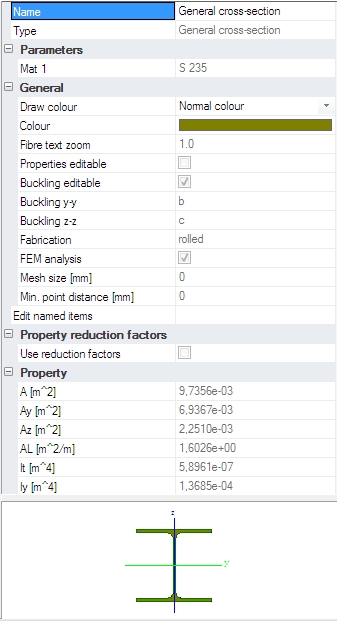
General and Numerical cross section
The dialogue allows to define the cross section as a general cross section or numerical cross section. Only geometry of the cross section is exported to SCIA Engineer. This cross section is editable in SCIA Engineer.
This new rule is automatically saved to the User table.