How to create and work with a User defined attribute
Attribute parts
Attribute definition
The definition of the attribute is a library item. This item specifies which parameters contains the user defined attribute. Each definition is only once in the project - in library. This is the specification of the attribute.

Instance
The instance is based on the attribute definition, but the values of predefined parameters can be changed by user. It is inserted to the project. It shows the label of the attribute and parameters are displayed in the properties. Each instance of the same attribute definition can have a different values but it has the same parameters.
If the definition is changed, all its instances should be updated. There is a message:

How to create the attribute definition
Definition of attribute Colour with two parameters - colour and thickness:
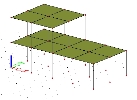
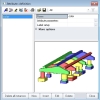
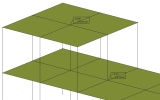
- Open the attached project – Attributes.esa. You can see a simple structure composed of beams and plates in two levels.

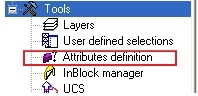
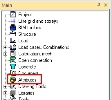
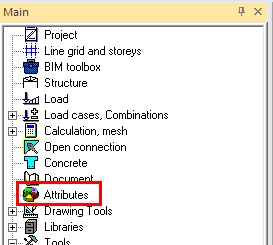
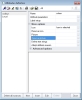
- Find service Attribute definition in Tree menu service Tools.

Definition of the attribute by Attribute wizard
It is possible to create the attribute definition by the library itself or user can use the attribute wizard. The wizard is much more user friendly tool and the next part describes its functionality.
- The attribute wizard is opened automatically when no attribute definition is already created in the library. If the library contains at least one definition, wizard starts automatically when user create a new item.
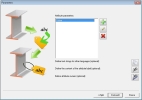
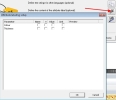
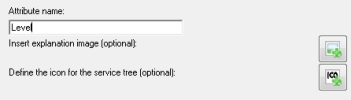
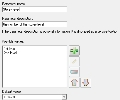
- The first part contains the name, explanation image and icon which used in the service afterwards.
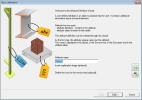

If there is no small picture next to the button for adding, it means that no image and no icon are added yet.
- Define the name as "Colour", add picture "colour.bmp" and icon "ico_colour.bmp". Used picture and icon are displayed by small previews when user moves cursor over the picture next to the button for adding.
- Use button Next and move to the second step.
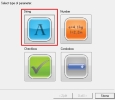
- Define the parameter type in the next step. The first parameter is String. Click on the big icon.
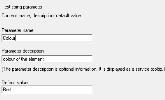
- Fill in the String parameter definition.The name is "Colour", description is "colour of the element" and the default value is "Red".
- Continue to the next step.
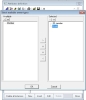
- There is a list of already created parameters for this User defined attribute.
- Add a new parameter by the button with green plus and then select the type Number.
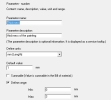
- Define the settings of the Number, name is "Thickness", description is "thickness of the painting" and default value is 1. Select the units - mm (Length) and define the range from 0 to 3mm.
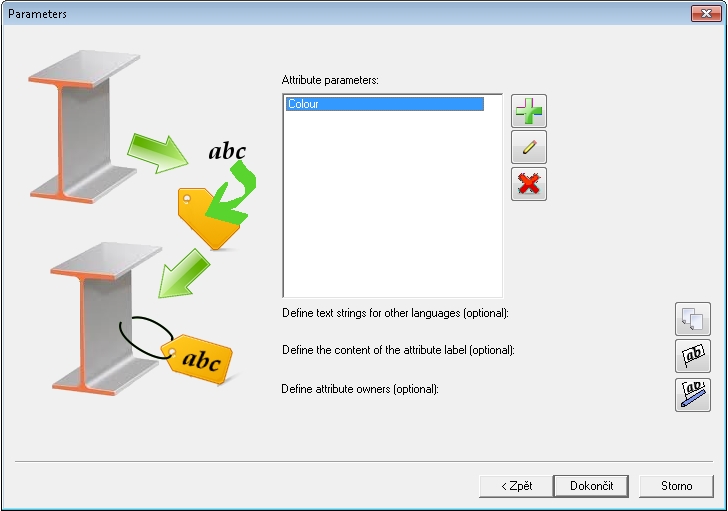
- Finish this step and check if the list displays two parameters for this attribute.
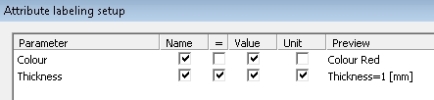
- Define the content of the attribute label. Label for colour - check the checkboxes for names and values. Label for thickness - check all checkboxes.
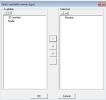
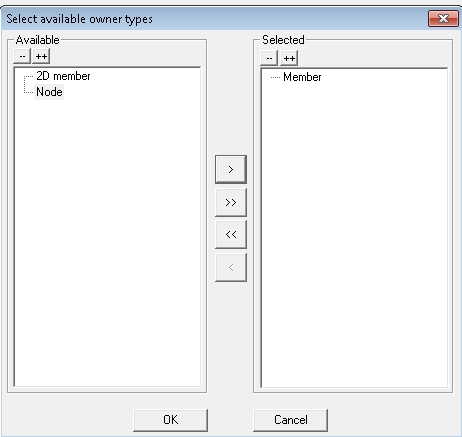
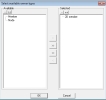
- Define the attribute owner - that means which type of elements can contain an instance of this attribute definition. The owner for this definition is 1D member. Select "Member" in the left list and move it to the right part.
- The attribute is ready to use. Finish the wizard and check the new attribute definition in the library.


How to insert attribute instance to the project
- Close the Attribute definition library
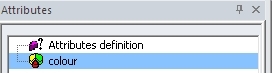
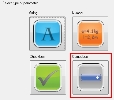
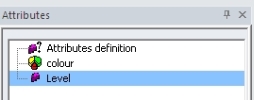
- The new service is displayed in the main tree menu - Attributes.
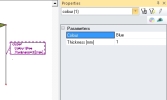
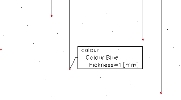
- Open the service and start command Colour. The new dialogue is opened. The default settings are displayed.
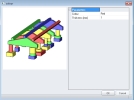
- Confirm by OK and select one column. The attribute instance is added and the predefined label is displayed.


Add a new attribute definition
- Open the Attribute definition library from the Attributes service.
- Click on New. The application starts wizard.
- The name is "Level". Don't add any picture or icon. The system defines the default. Continue to the next step.
- Select the parameter type Combobox.
- The parameter name is "Storey level", the description is "the number of the storey level", add two items to the list of possible values and name them "1st level" and "2nd level". The default value is "1st level".
- Finish the definition of the parameter.
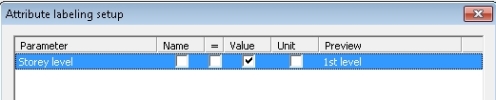
- Define the attribute label. Check only value.
- Define the parameter owner. Select 2D members.
- Close the wizard and check that the new attribute is displayed in the service. There is a default icon used for the attribute.
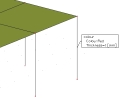
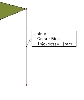
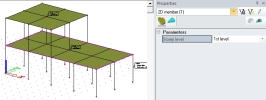
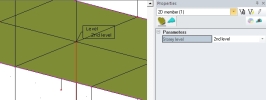
- Insert the new attribute on both plates in the project. Change the value of the higher attribute to "2nd level" during inserting. The label is always placed to the plate center.


Modify the properties of the attribute
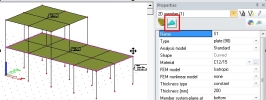
Properties are displayed if user selects attribute label or selects the owner. It is displayed on the second tab in the properties of owner.
- Select the Colour attribute label.
- Change the parameter Colour from Red to Blue.
- Check the changed value on the attribute label.
- Select the bottom plate. Switch to the second tab in the property dialogue.
- Change the parameter to "2nd level". Check if it is displayed on the label.


Modify the properties of the attribute definition
The attribute definition can be modified by the attribute wizard in the same way as it is created.

Sometimes it is faster to find the property in the library directly.
- Open the attribute definition library.
- Click on "More option" in properties of Colour. The group is expanded.
- Click on button to remove the picture. The preview is empty.
- Click on "Adapt attribute owners". Define one more owner for attribute - Node.
- Close both dialogues and insert attribute Colour on node on the structure.
- The label is now displayed on the node.


The final project with inserted Attributes is attached as "final_attributes.esa".